MediaStorm Guide to Quickly Deleting Clips in Premiere Pro
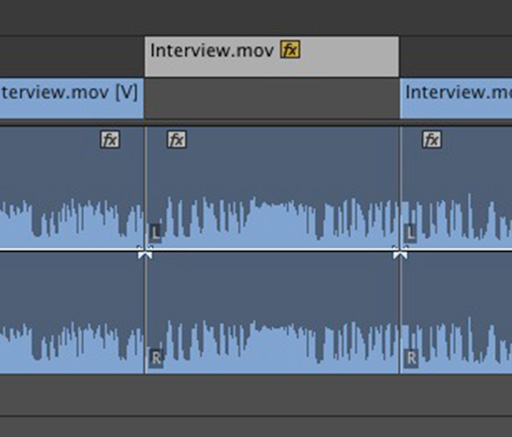
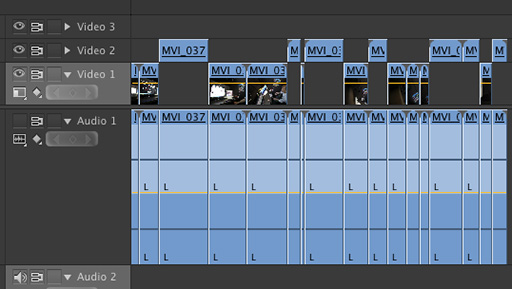
This article is part of a new series of posts with tips and tricks from our producers' experience working with Adobe Premiere Pro after years of working in Final Cut Pro. To read more about why we made the switch, check out this post. Today's post was written by MediaStorm producer Eric Maierson. File this tip under I-should-have-thought-of-this-years-ago. First, some backstory from the MediaStorm Post-production Workflow. At MediaStorm, when we log b-roll we use two specific suffixes to identify our sequences. The first is RAW, which indicates that a timeline contains all the clips from a scene or day of shooting. So if a Finder folder contains clips from day one of shooting at a barn, the Adobe Premiere Pro sequence containing those files will be labeled Barn_01_RAW. We then log these clips, raising selects up one video channel as seen below. Next, we duplicate the sequence and replace the word RAW…