MediaStorm Guide to Keyboard Customization in Adobe Premiere Pro

This article is part of a new series of posts with tips and tricks from our producers' experience working with Adobe Premiere Pro after years of working in Final Cut Pro. To read more about why we made the switch, check out this post. Today's post was written by MediaStorm producer Eric Maierson. One of the keys to getting up to speed on any editing application is to know your shortcuts. In Adobe Premiere, these are available in the Premiere Pro > Keyboard Shortcuts... menu. At the top of the window, you’ll see a pull-down menu labeled Keyboard Layout Preset. By default this is set to Adobe Premiere Pro CS 6.0. These are Adobe’s built-in shortcuts. If you’d prefer to use the more familiar Final Cut Pro 7 shortcuts, choose the Final Cut Pro 7.0 option from the pull-down menu. After some debate, we’ve decided at MediaStorm to use the default Adobe…

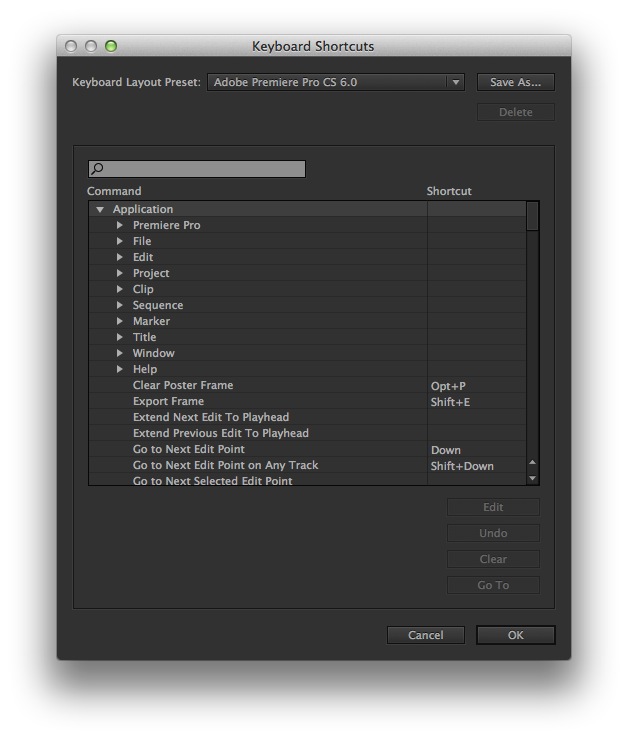
Continue ReadingMediaStorm Guide to Keyboard Customization in Adobe Premiere Pro

MediaStorm Guide to Fundamentals of the Premiere Pro Project Bin

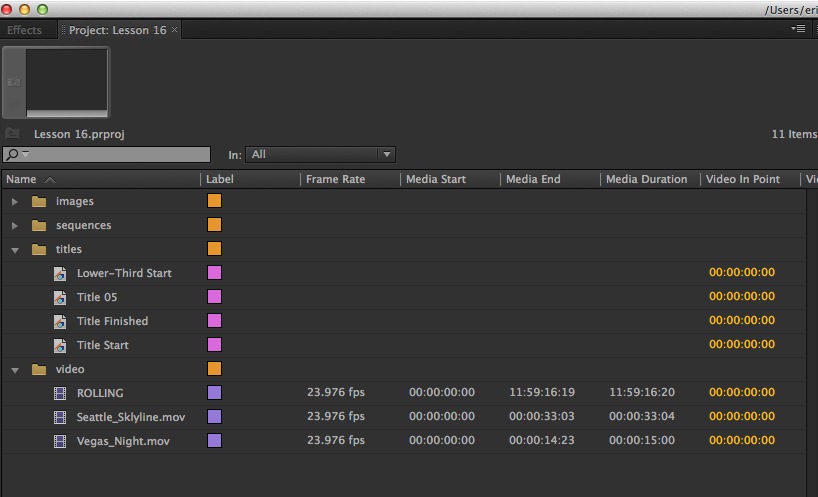
This article is part of a new series of posts with tips and tricks from our producers' experience working with Adobe Premiere Pro after years of working in Final Cut Pro. To read more about why we made the switch, check out this post. Today's post was written by MediaStorm producer Eric Maierson. The Adobe Premiere Pro Project Panel behaves much like the Browser in Final Cut Pro. Its basic function is to store and organize the assets used in your project. Still, there are two key, significant differences. Unlike FCP, if you drag a file from the Finder directly into your timeline, Premiere Pro will automatically add a reference to this asset in the Project Panel. Therefore, if an asset exists in a timeline then it will also exist in the Project Panel, whether you put it there or Premiere does. The more significant difference, however, is the way Premiere Pro…

Continue ReadingMediaStorm Guide to Fundamentals of the Premiere Pro Project Bin

MediaStorm Guide to Making Quick Selects on the Adobe Premiere Pro Timeline

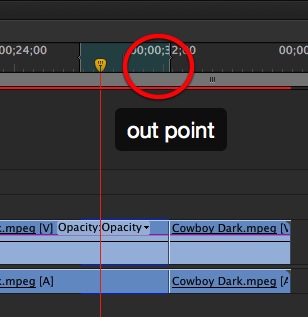
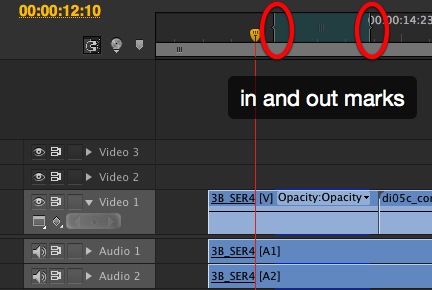
This article is part of a new series of posts with tips and tricks from our producers' experience working with Adobe Premiere Pro after years of working in Final Cut Pro. To read more about why we made the switch, check out this post. Today's post is the second of two posts on navigating the Adobe Premiere Pro timeline, written by MediaStorm producer Eric Maierson. I spend much of the time in Premiere Pro making selects. Knowing just a few shortcut keys makes the process much faster. As in Final Cut Pro, J, K, L, are your transport tools. J shuttles your timeline playhead backward. K is stop. And L is forward. To begin, place clips from a single day or scene onto one timeline. Add the suffix RAW to your sequence to indicate that the timeline contains all media from a particular day. Then, press the Spacebar or the L key…

Continue ReadingMediaStorm Guide to Making Quick Selects on the Adobe Premiere Pro Timeline

Adobe Premiere, It’s Damn Good

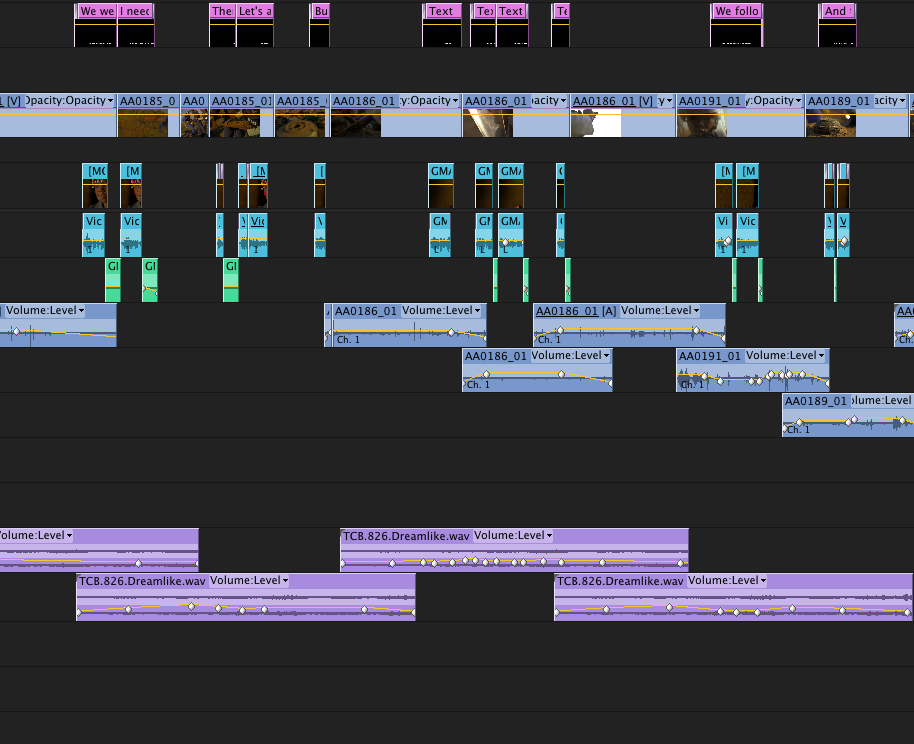
Editor's note: After seven years working with Apple's Final Cut Pro, we have decided to begin using the Adobe Production Suite. We were early adopters of FCP 7 and considered making the switch to FCP X. In the end, we felt more comfortable with Adobe's product than Apple's FCP X. We know that many people in the industry are struggling with the same decision, so our producers have agreed to share their reasoning for the switch. Today's post from Tim McLaughlin tells about his experiences editing in FCP X and creating MediaStorm's first project in Adobe Premiere Pro. Eric Maierson posted yesterday explaining the overarching reasoning for the switch. These two posts are just the beginning. Our producers will continue to share their experiences with you on our blog. Also, they'll be posting Premiere shortcuts on a new twitter feed @PrProShortcuts. And stay tuned for the release of a new Post-production Workflow…

Continue ReadingAdobe Premiere, It’s Damn Good