
This article is part of a series of posts with tips and tricks from our producers’ experience working with Adobe Premiere Pro after years of working in Final Cut Pro. To read more about why we made the switch, check out this post.
Reader Filip Lein asks, “I would love to be able to make custom effects like I had in FCP7…How can one make those please?”
Saving custom effects in Premiere Pro CC is easy but not obvious.
First, add an effect to a clip by doing the following:
-
Search for the effect in Effects window (Shift–7).
-
Drag the effect on to your timeline clip.
-
Change the effect parameters by first clicking the clip in the timeline then opening the Effect Controls window (Shift–5). You may need to twirl down the disclosure triangle to see all of its options.
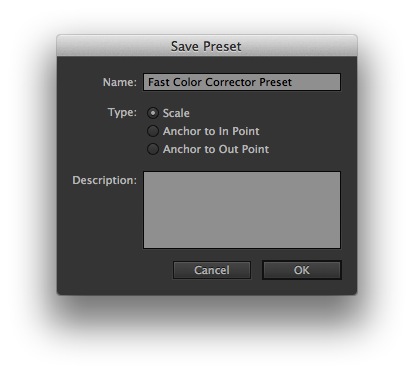
Once the effect is set to your specifications, right-click the name and choose Save Preset.

In the Save Preset window, give your custom effect a name and press OK.
By default, Premiere Pro CC keeps your custom effects in the Presets folder of your Effects Window.
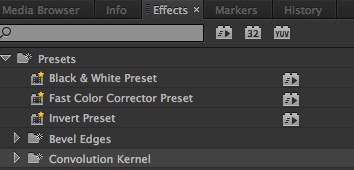
To copy these effects to a new folder simply create a new folder by clicking the folder icon at the bottom of the Effects window.
In my tests, a version of the effect remains in the Presets folder even when you drag it to a new folder. Deleting from the Presets window will also delete copies in other folders.
To use a preset, simply drag it on to any timeline clip as usual.
Have a Premiere Pro question? Use the Twitter hashtag #askMediaStorm.